Block A-3 - "Hunter's Moon"

I simply cut the pink fabric into a square and then pressed it on both diagonals. I then made the applique' pieces a little different from other mehods I've read about.
First, I trace the applique' shapes onto the smooth side of fusible interfacing.
I cut out each piece roughly around the drawn lines.
With the drawn side up, I put the piece on top of the fabric I'm using with the right side of the fabric facing up.
Next, I stitch the interfacing to the fabric on the drawn lines.
Once stitched all the way around I trim both down to 1/8" around the traced shape.
Then I make a cut/slit with sharp scissors through only the interfacing layer.
I then flip the piece right side out, producing a piece that has the right side of the fabric on one side and the sticky, bumpy part of the interfacing on the other.
I make sure points are as well turned and sides are as crisp as I can get them.
Then I press the pieces into their proper positions on the block.
** I'm going to revise this the next time I create one of the applique' blocks and just use fabric on both sides. I'll have to pin it in place or use a fabric glue stick instead of having the fusible there, but I think it will produce a better result.
Oh, and I do it this way because I do not like needle turn applique' very much. I'm willing to learn it but while I am not good at it I don't want to use that for my Dear Jane quilt!
Block A-11 - "Pebble's Protest"

I'm pretty sure I did this one differently than most have suggested. And I'm not exactly giddy for the larger pink squares in the corners not being whole pieces. However, I like the way it went together and I didn't have to paper piece too much and I didn't have to do set in seams.
So I cut one - 1 1/2" square for center
Then, I paper pieced all four points and the two triangles by each one.

Then, I made the four 4 patch squares by strip piecing 1" strips of each fabric.
I cut that strip set into eight 1" sections.

These sections go together in pairs to make the four patches.
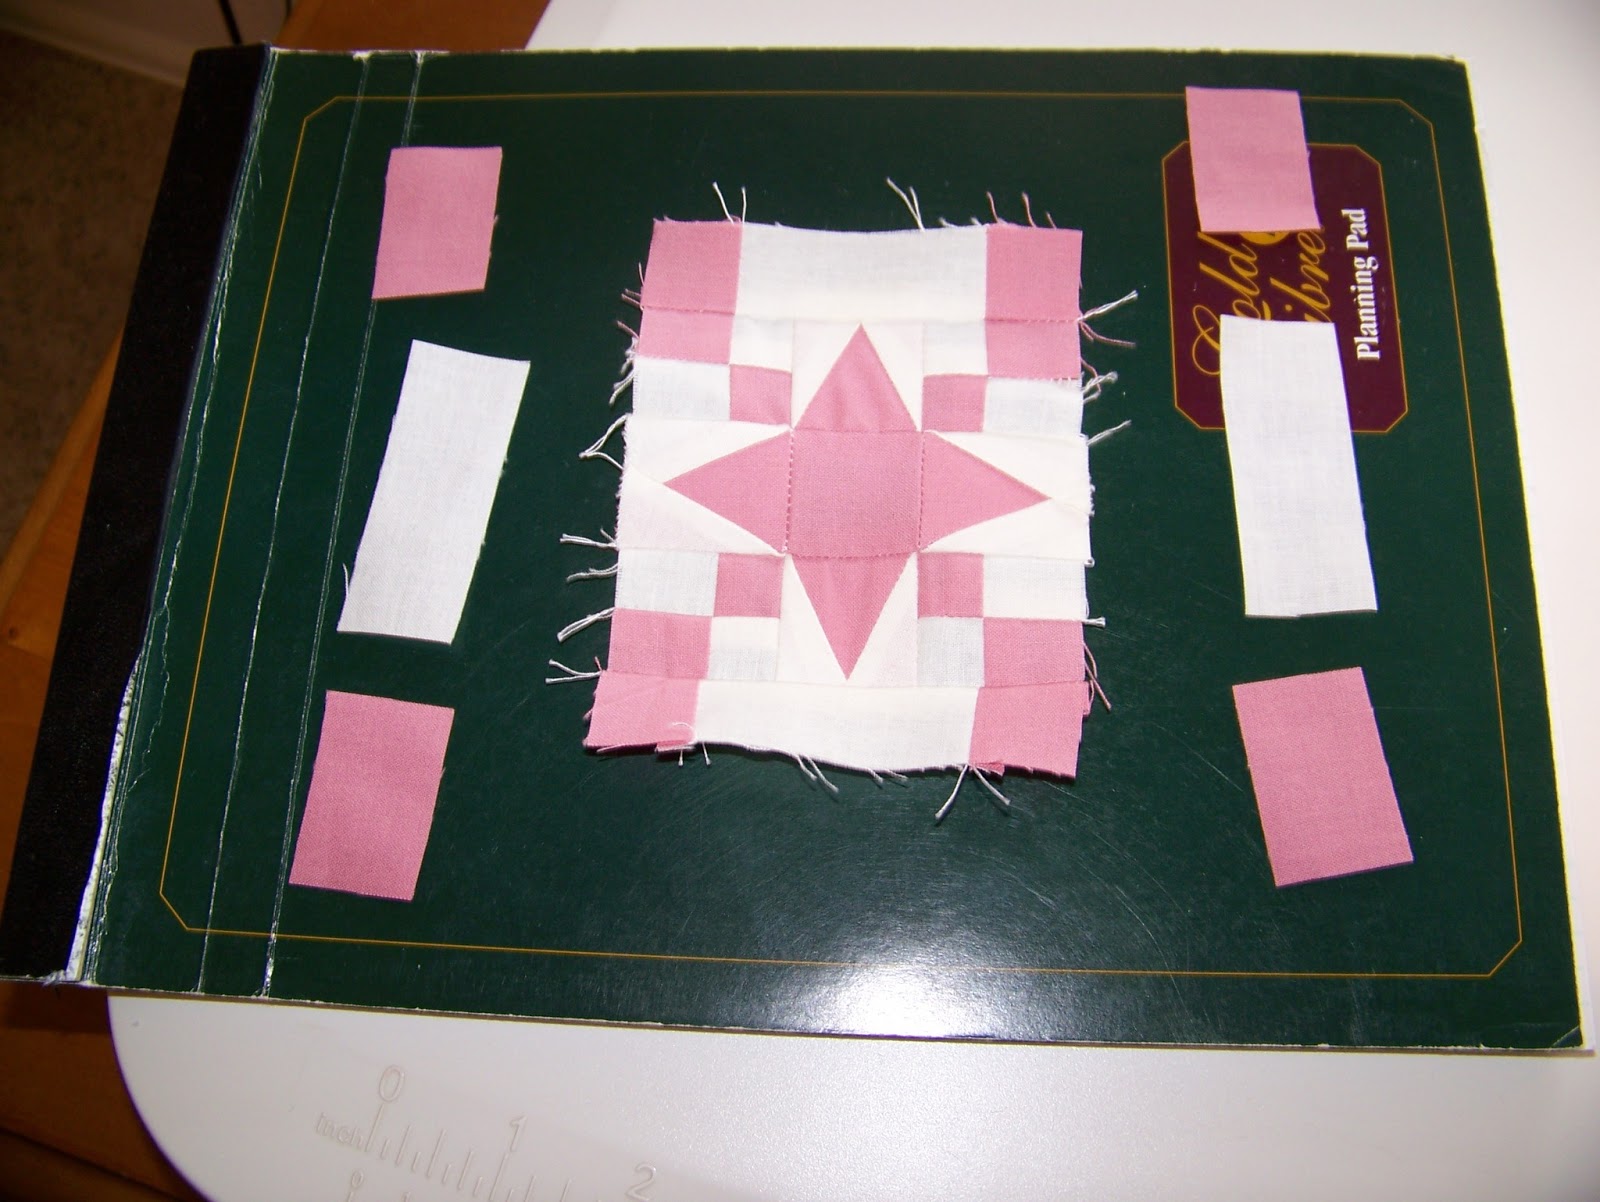
Now we have this:

Next I cut four 1" x 2 1/2" rectangles from background fabric.
Then I cut four 1" squares from color fabric.

I then cut four 1" x 1 1/2" rectangles of color fabric.

So I cut one - 1 1/2" square for center
Then, I paper pieced all four points and the two triangles by each one.

Then, I made the four 4 patch squares by strip piecing 1" strips of each fabric.
I cut that strip set into eight 1" sections.

These sections go together in pairs to make the four patches.
Now we have this:

Next I cut four 1" x 2 1/2" rectangles from background fabric.
Then I cut four 1" squares from color fabric.

I then cut four 1" x 1 1/2" rectangles of color fabric.

Next I pieced the center 9 squares together in rows then rows together.
Then I pieced the top border and bottom border (3 pieces each) and attached them.

Then I pieced the top border and bottom border (3 pieces each) and attached them.
Then I pieced the right and left side borders (3 pieces each) and attached them.
Lastly I cut a 3/4" strip of background fabric to add the skinny outer border "log cabin" style.

I have to tell you that I am extrememly pleased with this one!!
Lastly I finished Block A-12 - "Starlight - Starbright"

I came close to losing my religion over this one. I think I used the same paper piecing mehod as most of the others have used. But the problem I ran into was with the four green points of the outer square. I paper pieced each of those individually as shown below.

But when I assembled the rows I turned 3 of them the wrong way. One of each of those green triangles in the corner pieces above is slightly smaller than the other. And of course, I turned them the wrong way! So I ripped all of those seams and re-pieced the rows together and they still don't meet up quite right and that irks me! It's not horrible, but it may very well be one I end up remaking once I get in the groove of these itty bitty pieces!
Lastly I cut a 3/4" strip of background fabric to add the skinny outer border "log cabin" style.
I have to tell you that I am extrememly pleased with this one!!
Lastly I finished Block A-12 - "Starlight - Starbright"

I came close to losing my religion over this one. I think I used the same paper piecing mehod as most of the others have used. But the problem I ran into was with the four green points of the outer square. I paper pieced each of those individually as shown below.

Blessings y'all,
Lesa-Jane, 10 blocks, 0 triangles, 272 pieces
No comments:
Post a Comment